More ZPU experiments

Since my last post I’ve been continuing to work on the ZPU small core, adding hardware implementations of the optional instructions while trying to keep the core as small as possible.

Certain instructions are closely related enough that once one is implemented the others come almost for free. Sub, Eq, Neq, Lessthan and Lessthanorequal come under that category.
Continue reading

Speed / size tradeoffs

I’ve been playing some more with the small version of the ZPU core, and have successfully integrated it into a cut-down version of my previous MiniSOC project. The “official” small core only supports BlockRAM access, with external access reserved for IO. I’ve reversed this so that only the stack is in the CPU core’s internal BlockRAM, and program data comes from external RAM.

In addition, I’ve added optional hardware implementations of a few of the emulated instructions, namely mult (the Cyclone II has hardware multipliers, so why not use them?), eq, eqbranch and neqbranch. I think I can add the comparison instructions without bloating the core too much, as well.

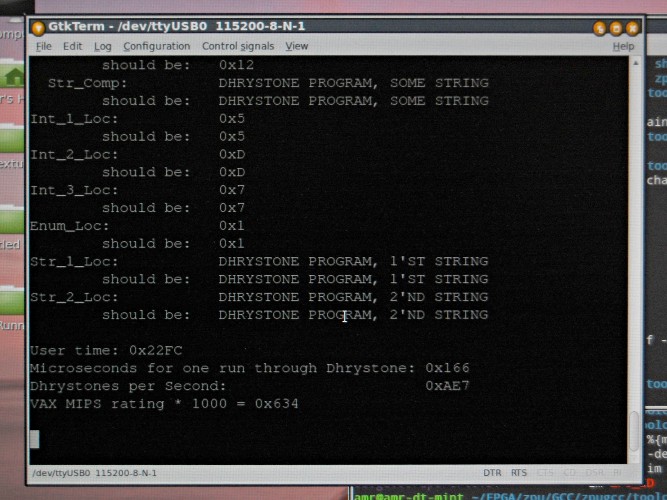
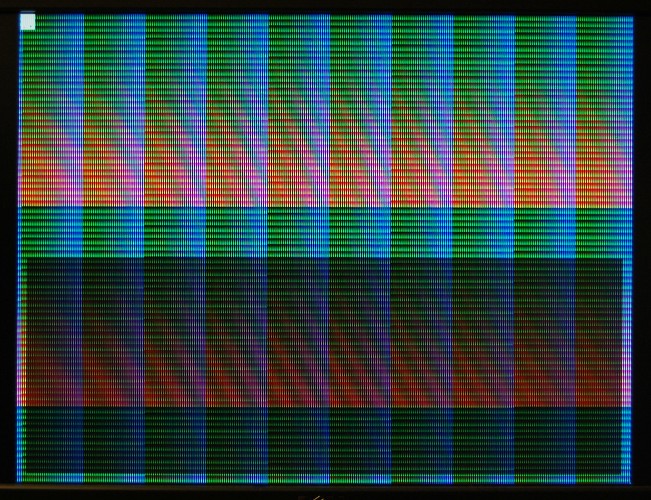
By way of a benchmark, I’ve written a simple framebuffer test which simply writes a pattern of ascending longwords into the framebuffer. With the optional instructions disabled, this achieves about 1.9 frames per second, and the CPU takes up 621 logic elements.
With eq and eqbranch/neqbranch in hardware, the frame rate goes up to about 5.25, and the core takes 781 logic elements.

There’s lots still to do – reading from SDRAM is untested, and writes are currently always 32-bit – but the project is available here (currently DE1 toplevel only) for anyone who might be interested.

ZPUFramebufferTest

A Tiny CPU

There are various FPGA projects which could benefit from the existence of a really small CPU core to handle things like loading ROMs from SD card. The Minimig project either uses an external microcontroller (For the original Minimig and now also the MIST board), or throws in a second fully-fledged CPU into the FPGA itself. This is either a second instance of the TG68, or in the case of Chaos’s DE1 port, an OpenRisc CPU.

The only problem with this approach is that the second CPU takes up valuable resources – the OpenRisc CPU is smaller than the TG68, but still takes up over 2000 logic elements, so there’s definitely a need for a really small CPU core. Continue reading

Caching and Bus Snooping

When I first added the Turbo ChipRAM feature to the Minimig core, there were suprisingly few unpleasant side-effects. However, one side-effect did become apparent when I added the Two-way CPU cache.

On a real Amiga, it’s possible for the CPU’s bus and the chipset’s bus to operate independently, so if Fast RAM is available, the CPU can conduct a FastRAM operation at the same time as the chipset is reading or writing from Chip RAM. On the TG68-based Minimig variants, there’s only one type of RAM available – SDRAM, and no matter how they’re handled, Chip RAM and Fast RAM accesses ultimately all end up in the same RAM chip. Chip RAM accesses are coordinated by the Minimig’s chipset emulation, while Fast RAM accesses use a different port in the SDRAM controller and bypass the Minimig chipset emulation entirely, which is much faster. This is the key to my “Turbo ChipRAM” option – which basically allows Chip RAM to be accessed through the SDRAM controller’s Fast RAM port.

The problem is that the Fast RAM port is cached, so if the chipset writes to a piece of Chip RAM which happens to be in the cache, the cached data becomes stale, and next time the CPU reads that address it received the stale data, not the newly-written data.

The solution to this is to perform Bus Snooping. The CPU cache needs to monitor the SDRAM controller’s Chip RAM port, watching for writes, and any time it sees a write to an address that’s in cache, it must either update or flush the cached data.

I’ve taken the easier but slower option here, simply marking the data as invalid, forcing it to be re-read from SDRAM next time the CPU wants to access it. There’s scope to improve performance by updating the cached data and leaving it marked as valid. The cost for this would simply be the extra logic elements needed to store the written data temporarily and write it to the cache.

Source for the Two-way cache with Bus Snooping can be found here – and I’ll try and release a new version of the Chamemleon core in the near future with this change included.
ProjectXG Redux

Anyone remember CU Amiga Magazine’s “ProjectXG”?  This was a DIY project they ran, based on a hack that was published on Aminet, to interface a Waveblaster MIDI daughterboard to the Amiga’s serial port, to provide a pretty good quality MIDI tone module.

The daughterboard most commonly used for this project was Yamaha’s DB50XG, though any card which attached to a “Waveblaster” header could be used.  (Googling Waveblaster now, however, will find you a Yamaha product of quite a different nature.)

The DB50XG’s successor, the DB60XG was manufactured under license by NEC as the XR385, and this seems to be the easiest such card to find these days.  It’s very similar to the DB50XG, it just has some very subtly different voicing, and can apply its DSP effects to incoming audio as well as its own sounds.

Having built a ProjectXG many years ago, then selling it a year or so back and promptly building another one, I naturally wanted to interface a Waveblaster card to one of my Minimig variants, and listen to some old MIDI files again.
Continue reading

This may be turning into an obsession…

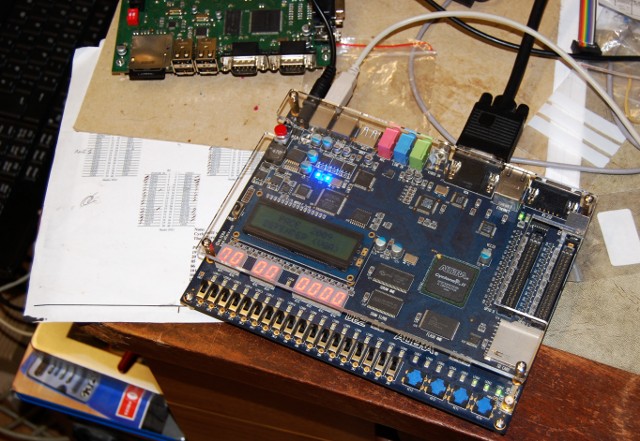
A few days ago I scored an Altera DE2 dev board on EBay for £90. It’s the lower-end model with “only” 35,000 logic elements in the FPGA, but still a worthy addition to the collection.
DE2

My first steps down the road that led me here were nearly two years ago now. I brought my old Amiga stuff down from the loft with a view to selling it, since I hadn’t touched it in years. I had an A4000/030 (my pride and joy when I was 17!), an A600 that I’d inherited as payment-in-kind for some programming work, and an A1200 with 50Mhz ‘030 that I’d bought from a friend and then promptly mothballed.

In my defense, I *did* sell the A600.

However, since discovering how active the Retro scene is, and becoming interested in the FPGA recreations of retro systems, I’ve somehow managed to acquire the following cool but ultimately pointless toys!

  • 1 A500+ (which somehow survived an EBay seller shipping it in a box three times too big, in a shallow dusting of polystyrene peanuts! I’ll probably sell it again – I bought it mainly to save it from death-by-leaky-battery, and try my hand at the piggy-back RAM chip trick.  Buying the ingredients needed to return it to something like its original colour got me some funny looks in Boots!  Yes, it’s bblonde.  No I’m not going to put it in my hair.)
  • 1 A500 motherboard (works fine, just doesn’t have a case.)
  • 1 Commodore 64C (I need to mend the shift-lock key, otherwise in good working order.)
  • 10 3.5 inch floppy drives (to try my hand at the make-a-PC-drive-work-on-the-Amiga mods. Hmmm, maybe I should try doing this)

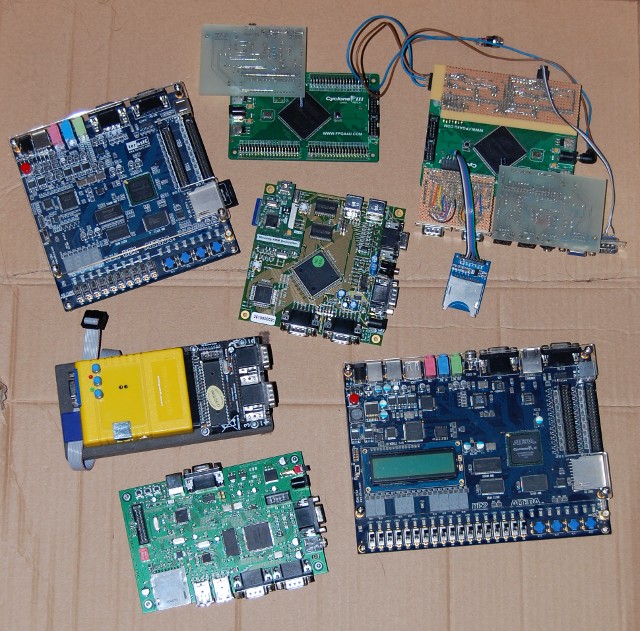
And far too many FPGA boards, all capable of running a Minimig core of one type or another!

  • 1 Turbo Chameleon 64 FPGA cartridge (to which I’ve added a JTAG connector for ease of programming)
  • 1 Altera DE1 dev board (Courtesy of EBay)
  • 2 barebones Cyclone 3 dev boards from EBay, Frankensteined out with my custom-built IO boards.
  • 1 Minimig with ARM Controller (a donation for which I’m most grateful)
  • 1 Prototype MIST board (very nice piece of kit – USB keyboard and mouse support, and with an Atari core under development)
  • 1 Altera DE2 dev board

FPGABoards

So… I think I can safely call this particular de-cluttering exercise a dismal failure!

PACE Adventures – Part 4

A worked example…

Since I’ve been asked just how difficult it is to port a PACE arcade machine to the Chameleon, I figured a worked example would be useful! So what I’m going to do is document the process of getting Galaxian up an running. I’m going to assume you’re using Linux here. It’s all equally possible on Windows, but you’ll need to deal with things like getting an SVN client up and running, and I’m afraid I can’t help with that.

The first thing you need is a copy of the current PACE repository (Revision 1402 at the time of writing), so from a terminal, type:
svn checkout https://svn.pacedev.net/repos/pace
Continue reading

More PACE adventures

After I ported the Pacman core to the Chameleon 64 last week, Mark McDougall suggested that Moon Patrol would be a good project to port next, so that’s exactly what I’ve done.

mpatrol

I’ve also improved the Pacman port somewhat, cleaned up the clocking arrangments (now I have a clearer idea of how they’re supposed to work) and integrated the Chameleon_CDTV entity, which means the CDTV infra-red controller can now be used.

I’ve also ported Moon Patrol to the MiST board, and to my Frankensteined C3 board.

The downside of Moon Patrol is that it requires a two-button controller, since one is used for fire and the other for jump.

Binaries for the Chameleon64 can be found here, while a patch against current PACE SVN can be found here.