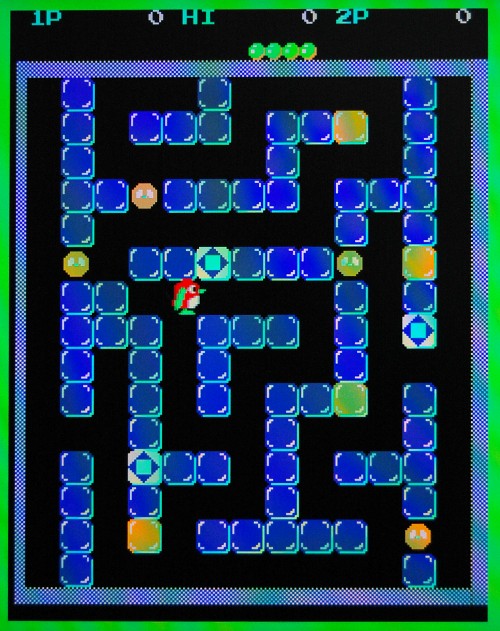
The latest addition to the line-up of PACE cores with Chameleon 64 builds is Pengo!
For the impatient, binaries for the Chameleon 64 can be found here!
Continue reading
The latest addition to the line-up of PACE cores with Chameleon 64 builds is Pengo!
For the impatient, binaries for the Chameleon 64 can be found here!
Continue reading
After I ported the Pacman core to the Chameleon 64 last week, Mark McDougall suggested that Moon Patrol would be a good project to port next, so that’s exactly what I’ve done.
I’ve also improved the Pacman port somewhat, cleaned up the clocking arrangments (now I have a clearer idea of how they’re supposed to work) and integrated the Chameleon_CDTV entity, which means the CDTV infra-red controller can now be used.
I’ve also ported Moon Patrol to the MiST board, and to my Frankensteined C3 board.
The downside of Moon Patrol is that it requires a two-button controller, since one is used for fire and the other for jump.
Binaries for the Chameleon64 can be found here, while a patch against current PACE SVN can be found here.
Having seen the PACE project’s Pacman core running on the MiST board, I wanted to try and get it running on the Chameleon. This task is made much easier by the existence of Peter Wendrich’s Chameleon_io entity, which abstracts away the messy details of reading the C64’s or Docking Station’s joystick ports.
This is just a quick-and-dirty port, but should be playable. The coin switch is mapped to the leftmost button on the Chameleon, while the start button is the middle button.
To play, you’ll need a joystick in C64 port 1, or attached to the docking station. (So far I’ve only tested with a real C64.)
The core can be found here.
Source code (in patch form against today’s PACE SVN) can be found here. Because I used Till Harbaum’s port to the MiST board as a starting point the patch adds support for his board as well, and also my Cyclone-3-board-from-EBay.
Edit: Future me, nearly 10 years later, says don’t bother attempting these steps unless you really have no alternative. My comment below about guides found on the net quickly becoming obsolete now applies to this post!
If you’re using Ubuntu or a derivative, then the arm-none-eabi-… toolchain is now in the repos, so can easily be installed with apt, and there’s even an m68k gcc cross compiler too.
<Historical content resumes…>
To build the OSD firmware for the Minimig projects, a cross-compilation environment is needed. Configuring GCC for this task can be an arcane process, and aspects tend to change from time to time, so guides found on the net quickly become obsolete. For instance, guides recommending the target “arm-elf” will fail with the latest GCC. Instead we need to use the target “arm-none-eabi”.
Here’s how I built a toolchain for building both M68K (Chameleon Minimig port) and ARM (Original Minimig and MiST) versions of the firmware:
Continue reading
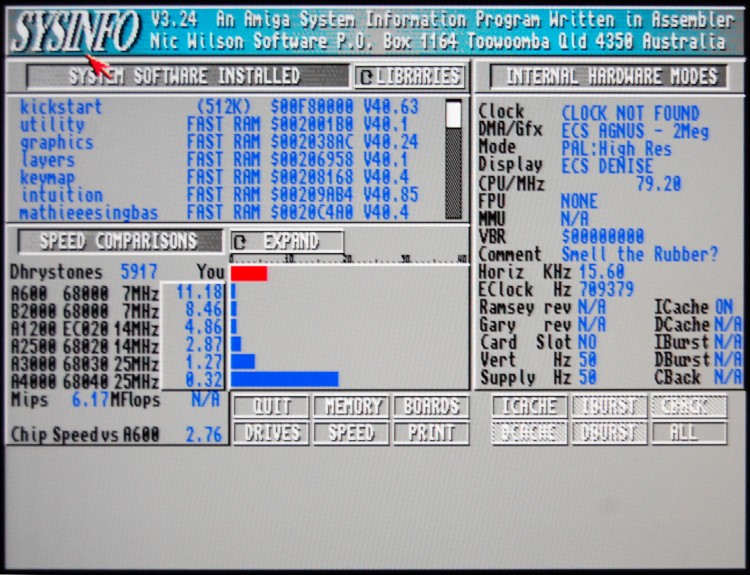
Following on from the addition of the Two Way Cache in my last post, I’ve made some more speed improvements to the Chameleon 64’s Minimig core.
Firstly, I’ve added a single-word write buffer, which means when the CPU writes to Fast RAM it doesn’t have to wait for the write to complete. Provided completing the write takes priority over any potential reads from the same address, and the Cache is updated to reflect the new data, then the CPU can continue merrily processing.
Secondly, I’ve added a second access slot to the SDRAM controller, which means in many cases the wait for RAM service is reduced from a worst-case 24 cycles to 17 cycles. The downside is that because RAM operations between the two access slots overlap, they can’t be to the same RAM bank. For this reason I’ve remapped the RAM so that bank 0 contains Chip RAM, Slow RAM, Kickstart ROM and OSD RAM, leaving banks 1-3 free for Fast RAM. Chip RAM and Kickstart ROM accesses can thus now overlap with Fast RAM accesses.
Finally, I’ve simplified the TG68 wrapper so that it no longer uses the enaWRreg signal to synchronize the CPU to the Amiga’s 28MHz clock.
Between them these changes give an average speed increase of about 65%. Continue reading
In my last post I said I was going to integrate the write cache into my two-way cache *before* adding it to the Minimig core – but I got impatient!
Part 12b – a better cache
I’ve *finally* found the subtle bug that was causing my two-way cache to fail. The symptom was that the boot process would appear to work fine, loading an S Record off the SD card, but having loaded it, the code would fail to start. It was as though the bootloader was ignoring the S9 record at the end of the firmware file.
After various fruitless attempts to track this down, and to construct artificial testcases to trigger the behaviour, I finally added some serial debugging breadcrumbs to the first-stage bootloader. From this I found that the final S9 record was being treated as thought it were an S1! Continue reading
Part 12a – a better cache
The TG68MiniSOC project has so far used a very simple cache for the CPU. The SDRAM controller is set up to use four-word bursts, so the cache simply stores each complete burst. Under this scheme, when data is read sequentially from RAM, only one read in four will need to wait for the SDRAM controller. This is the simplest possible example of a Direct Mapped cache, with just a single cacheline. Continue reading
One thing I’ve always found annoying when working with DB9s is that the staggered pins makes them incompatible with matrix board. The simplest solution has always been to just put the DB9 on the end of a cable, and either solder the cable directly to the board, or use a box header, which has parallel rows of pins.
A few days ago I was hit with a flash of inspiration – and now I can’t believe I didn’t think of this solution sooner! Continue reading
I’ve recently pushed some changed to the TG68MiniSOC Github repo at https://github.com/robinsonb5/TG68_MiniSOC. Changes this time round include: